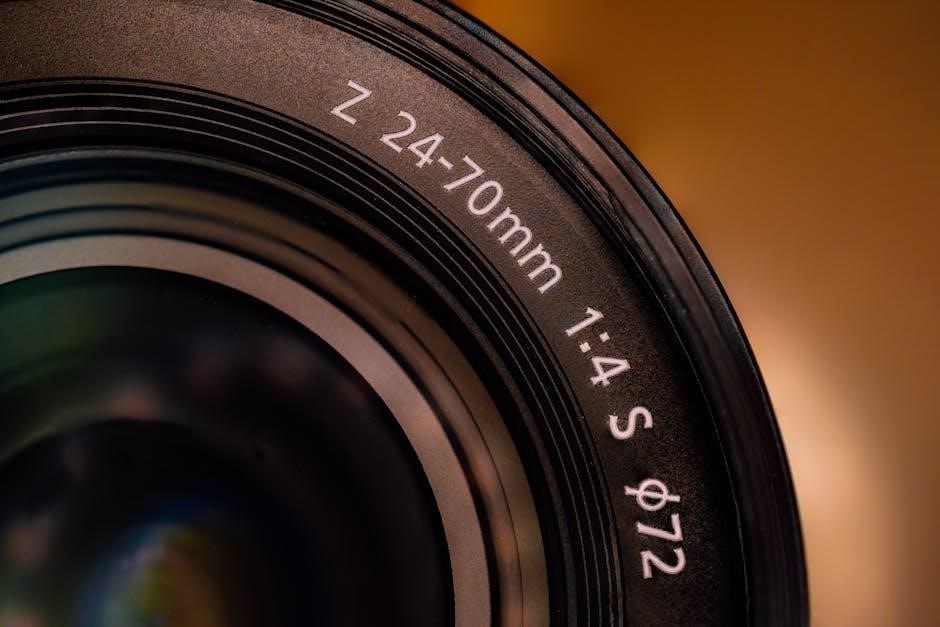
What is ISO in Photography
ISO in photography measures the sensitivity of the camera’s image sensor to light, stemming from film photography standards. It impacts image brightness, influencing exposure alongside aperture and shutter speed, affecting overall image quality.
Definition of ISO
ISO (International Organization for Standardization) defines the sensitivity of a camera’s sensor to light. Lower ISO values require more light, while higher values amplify the signal, brightening images in low light conditions, but potentially increasing noise.
ISO as a Standard of Light Sensitivity
ISO serves as a standardized measure of a digital camera sensor’s sensitivity to light, mirroring the film speed concept from analog photography. Originally established by the International Organization for Standardization, ISO numbers indicate how much light is needed to achieve a proper exposure. A lower ISO, like 100, represents lower sensitivity, requiring more light. Conversely, a higher ISO, such as 3200, signifies greater sensitivity, allowing for brighter images in dimly lit environments.
This standardization ensures that brightness levels remain consistent across different cameras and settings. Understanding the ISO scale is crucial for photographers to control the amount of light captured, effectively balancing image brightness and potential noise levels in their photographs. It helps in adapting to various lighting scenarios.
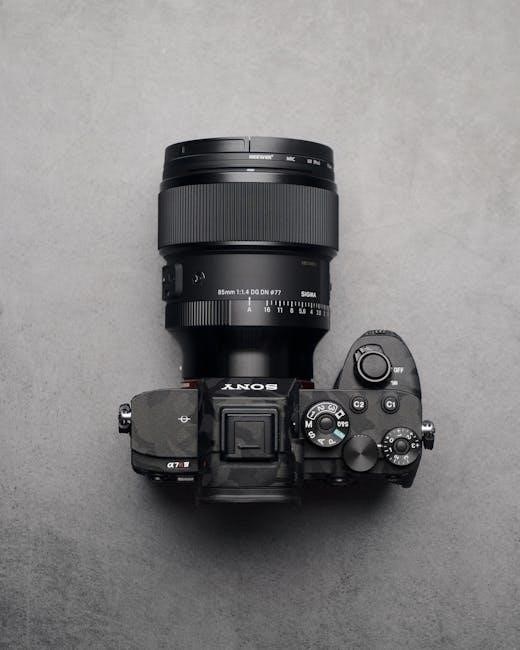
The Exposure Triangle
The exposure triangle consists of ISO, aperture, and shutter speed. These three elements work together to determine how bright or dark a photo is. Adjusting one affects the others, impacting image quality and exposure.
ISO, Aperture, and Shutter Speed Interrelation
ISO, aperture, and shutter speed are interconnected elements forming the exposure triangle, crucial for mastering photography. Adjusting one necessitates considering the others to maintain proper exposure. ISO determines the sensor’s sensitivity to light; a higher ISO allows for shooting in darker environments but can introduce noise. Aperture, the lens opening, controls the amount of light entering the camera and affects depth of field. Shutter speed dictates the duration the sensor is exposed to light, influencing motion blur.
Understanding their interplay is vital. For instance, in low light, increasing ISO enables faster shutter speeds or smaller apertures. Balancing these settings achieves the desired exposure while managing image quality and creative effects. Ultimately, mastering this interrelation unlocks greater control over photographic outcomes.
ISO Values and Their Impact
ISO values dictate light sensitivity; lower values require more light, while higher values brighten images in dim conditions. However, increased ISO can introduce image noise, affecting overall image quality and clarity.
Low ISO Values
Low ISO values, such as ISO 100 or 200, represent a lower sensitivity to light. This means the camera’s sensor requires more light to create a properly exposed image. In scenarios with ample lighting, like sunny days, using low ISO values is ideal. When using low ISO value you will need to know the F stop (Aperture).
Aperture can be defined as the opening in a lens through which light passes to enter the camera. This results in images with minimal noise and maximum detail and clarity.
Low ISO settings are perfect for landscape photography. Shooting in manual ― On sunny days, lower the ISO to make an image stopped . They ensure the highest possible image quality by reducing graininess and maximizing dynamic range, capturing subtle tonal variations and details.
High ISO Values
High ISO values, like ISO 3200 or higher, indicate a greater sensitivity to light. With a higher ISO number allows more light into the sensor, resulting in a faster exposure. This allows for shooting in darker environments where less light is available. By increasing the ISO number, your photos will grow progressively brighter.
High ISO settings are beneficial in situations like indoor events, concerts, or astrophotography. However, a trade-off occurs as higher ISO values introduce more image noise. ISO controls the amount of light your camera lets in, and therefore how dark or light your photos will be.
This is key to mastering exposure and achieving desired image quality.
ISO and Image Quality
ISO significantly affects image quality. Higher ISO settings amplify the signal, but also amplify noise, leading to grainy images. Lower ISO values produce cleaner images with more detail and better dynamic range.
The Relationship Between ISO and Image Noise
The connection between ISO and image noise is direct: increasing ISO to brighten images in low light also boosts image noise. This noise manifests as graininess or speckling, degrading image quality. Lower ISO values result in cleaner images because the sensor is more sensitive to light itself. As ISO increases, the camera amplifies the signal, including unwanted noise.
At low ISO, the signal-to-noise ratio is higher, leading to cleaner images. However, at high ISO, the amplified signal includes more noise, reducing the signal-to-noise ratio. Understanding this trade-off is crucial for photographers.
Managing ISO requires balancing brightness and acceptable noise levels to achieve desired image quality.
Practical Applications of ISO
ISO finds practical use in low-light scenarios, enabling brighter captures, and in manual mode, granting photographers control over exposure. Balancing ISO with aperture and shutter speed is essential for optimal image results.
Using ISO in Low Light Conditions
In low-light conditions, increasing the ISO setting on your camera becomes essential to capture brighter images. When there isn’t much ambient light available, the camera sensor needs to be more sensitive to what little light there is. By raising the ISO, you amplify the signal from the sensor, effectively brightening the image. However, it’s crucial to remember that increasing ISO introduces image noise or graininess. Therefore, it’s a balancing act between achieving a well-exposed photo and maintaining acceptable image quality. Experiment with different ISO values to find the sweet spot where your image is bright enough without excessive noise. This technique is particularly useful when shooting indoors, at night, or in dimly lit environments, enabling you to capture details that would otherwise be lost in darkness. Remember that understanding ISO is useful for extreme shooting.
Using ISO in Manual Mode
When shooting in manual mode, understanding and controlling ISO becomes paramount for achieving the desired exposure and creative effects. Manual mode empowers the photographer to independently adjust aperture, shutter speed, and ISO, granting complete control over the final image. In this mode, ISO acts as a crucial tool to fine-tune exposure based on the available light and desired depth of field and motion blur. For instance, on a sunny day, a low ISO like 100 might be appropriate. In contrast, a dimly lit indoor scene might require a higher ISO to compensate for the lack of light. By mastering ISO in manual mode, photographers can precisely balance the exposure triangle to create stunning images that reflect their artistic vision. With manual mode, the photographer controls the camera and can also experiment with different ISO settings.
ISO in Digital vs. Film Photography
ISO, defining light sensitivity, originated with film, dictating film speed. Digital cameras adopted the same ISO scale to maintain similar brightness levels, bridging the gap between the two mediums, and affecting image quality;
Maintaining Brightness Levels
In photography, achieving optimal brightness levels is paramount, and ISO plays a crucial role. Higher ISO values amplify the signal from the image sensor, making photos brighter, especially in low-light situations. This is particularly useful when aperture and shutter speed alone cannot capture enough light for a well-exposed image. However, increasing ISO also introduces image noise, which can degrade image quality. ISO controls the amount of light your camera lets in, and therefore how dark or light your photos will be. In digital photography, ISO settings allow photographers to adjust the camera’s sensitivity to light, thus maintaining desired brightness levels across various shooting conditions. ISO standards in digital photography today still have the same numbering system to indicate the sensitivity of a digital camera sensor to light.
Understanding ISO Scale
The ISO scale in photography is easy to understand, similar to shutter speed. Doubling the ISO equates to a one-stop increase in exposure, while halving it reduces exposure by one stop, affecting brightness;
Doubling and Halving ISO Values
Understanding the ISO scale involves grasping how doubling or halving ISO values directly impacts exposure. Each doubling of the ISO number, for example, from ISO 100 to ISO 200, effectively doubles the camera’s sensitivity to light. This increase is referred to as “one stop” brighter. Conversely, halving the ISO, say from ISO 400 to ISO 200, reduces the light sensitivity by half, making the image “one stop” darker. These adjustments are crucial for fine-tuning exposure in varying lighting conditions. For instance, if a photo is underexposed, doubling the ISO can brighten it. However, increasing ISO can also introduce more noise. Photographers must balance brightness with image quality. Mastering these adjustments allows for greater control over exposure, resulting in well-lit and visually appealing photographs.